
简介:
这个教程讲详细讲述cudy tr3000 的扩容方法如何为刷入大分区版本的u-boot的cudy tr3000路由器 构建合适的openwrt原版固件,旨在帮助那些希望自己构建和编译固件又不知道如何开始的朋友们.
REG 使用的 u-boot 来自:暗云大佬
文件:
SHA256 hash of mt7981_cudy_tr3000-mod-u-boot.fip:
22735217d66711faa8512d6abc1bbe40f6bdc3134e91c85ad5c43d548415ce9a
SHA1 hash of mt7981_cudy_tr3000-mod-u-boot.fip:
216c99bf5b9828da0b34a03c5c2885011b3b009e
MD5 hash of mt7981_cudy_tr3000-mod-u-boot.fip:
785d92451d88b343829a006ba5641abb
写在前面:
刷机有风险
<!> REG以及各路神仙大佬不能为你的设备损坏和变砖负责,如果你不同意这个规则,请不要继续!
且刷且珍惜
其实对于嵌入式设备,在没有救砖能力的时候,对bootloader (也就是这里u-boot所在的fip分区)进行操作通常是比较危险。
所以请确认你要刷入的bootloader与你的设备匹配,否则~嘿嘿…
要求:
硬件:
cudy_tr3000 (物理机)
RJ45 网线
计算机:搭载 Windows 或Linux 的物理机 至少有一个RJ45接口
软件:
Windows/Linux 操作系统
浏览器(推荐chrome)
固件集合:
…
还有你爱折腾的小脑袋
常见问题
为什么需要自己构建固件
安全–这可能是REG的洁癖问题
扩容–装更多的工具比如 ~60Mib的v2raya(包括geoip)
我不想自己构建固件怎么办
1.这些固件必须和你的u-boot匹配,否则无法boot
2.你信任REG及这些提供固件的人
直接build一个大分区原版的openwrt或者直接刷原版openwrt不行吗
u-boot 需要知道ubi分区的起始地址和终止地址
才能boot操作系统
原版固件和此大分区u-boot 不匹配–dts(设备树)中对ubi分区的定义不匹配,因此在编译固件时产生的ubi分区大小与u-boot无法和bootloader(ubi)协商一致,故u-boot无法boot操作系统。
我可以尝试build 此设备的u-boot吗
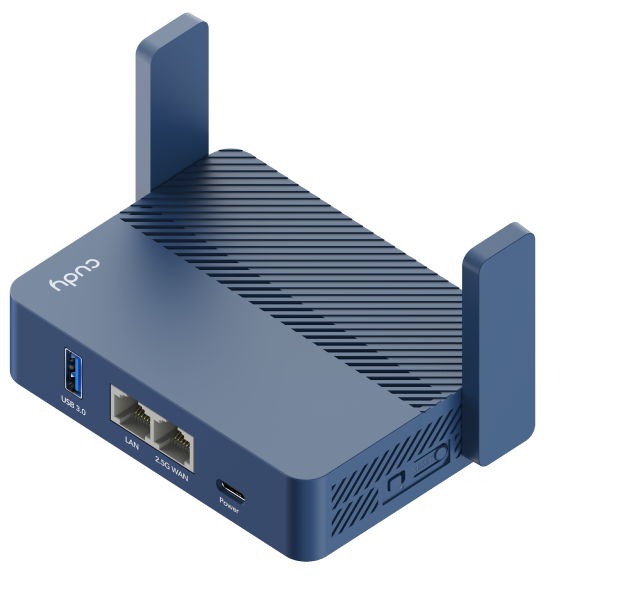
关于TR3000
闪存布局
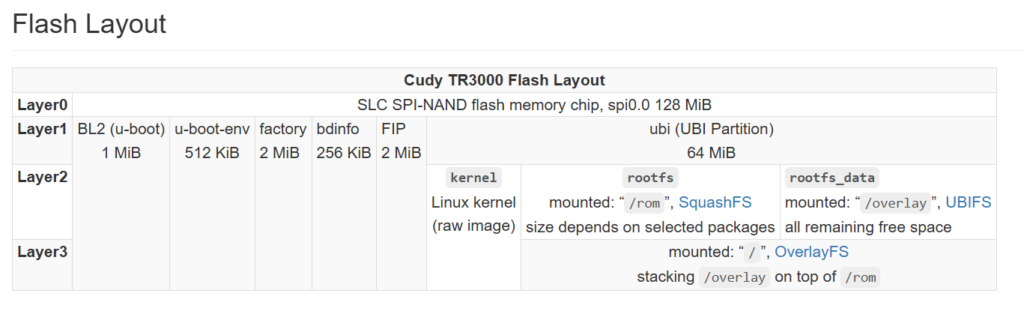
Cudy tr3000是一款便携路由器,虽然它搭载了一颗128Mib的闪存但是原厂的ubi只使用了64Mib,Openwrt官方对它的支持的固件只有64Mib的ubi分区.
来自:https://openwrt.org/toh/cudy/tr3000
有用的链接:
折腾 Cudy TR3000 的情报收集-OPENWRT专版-恩山无线论坛
REG的tr3000经历了什么:
- 原厂固件
- cudy官方提供的过渡固件
- openwrt官方提供的固件
- 暗云大佬 提供的解锁fip分区的固件用于刷u-boot
- 暗云大佬 提供的大分区固件
- Skrshadow 提供的 immortalwrt 固件(WAN口有问题)
- 孤影回溯 提供的 immortalwrt 固件 由REG自己编译 ( too fat -太胖了)
- REG自己构建的 openwrt 原版固件 (minimized – perfect)
LV.1: 刷OpenWRT原版固件(小分区)
刷入过度固件
上传成功后刷写即可
刷入openwrt 官方的固件
选择固件
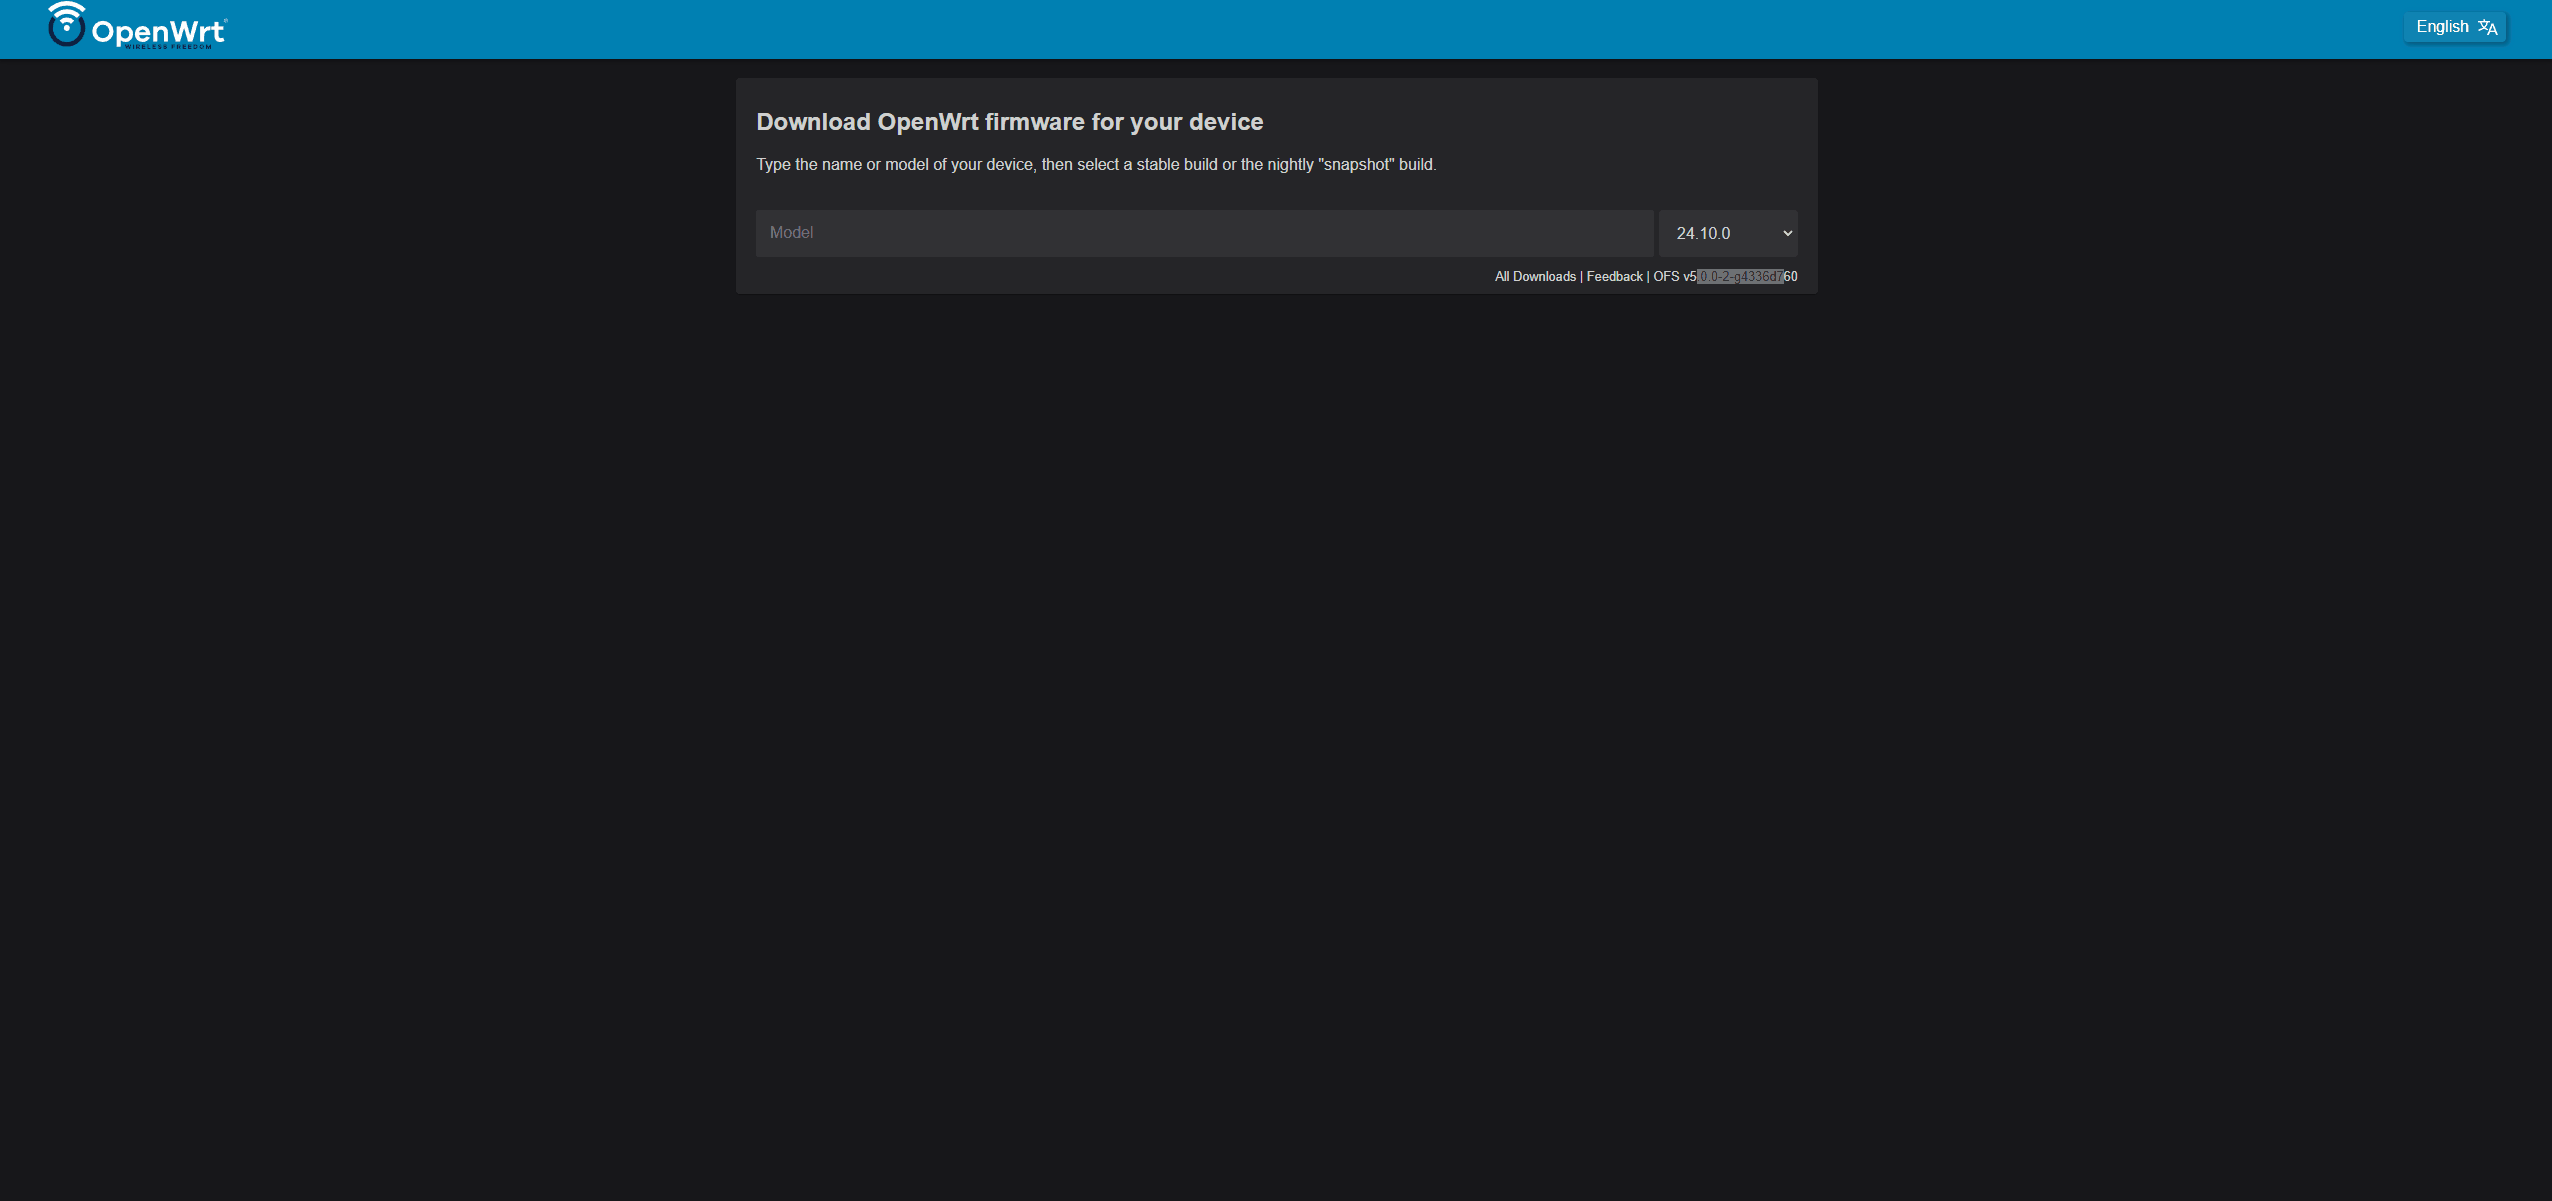
https://firmware-selector.openwrt.org/
OpenWrt版本24.10.0 (已测试) 或更新的
<!> 当然可以尝试一下其他版本 但不保证正常
通过luci刷入
登录过渡固件的luci
一般是192.168.1.1
用户名:root
密码:password 或者 留空不填
<!> 注意取消勾选 “保留配置”
lv.1 users:
如果你觉得到这一步已经足够了那么可以去享受openwrt 了
如果需要扩容和自己构建固件的朋友请往下看
LV.2: 刷入第三方支持大分区的u-boot:
备份原厂的fip分区
刷入解锁fip分区的固件(由暗云提供)
MD5 hash of openwrt-mediatek-filogic-cudy_tr3000-v1-squashfs-sysupgrade.bin:
4af5129368cbf0d556061f682b1614f2
SHA1 hash of openwrt-mediatek-filogic-cudy_tr3000-v1-squashfs-sysupgrade.bin:
fb3dac474c7a64fc736318239036e6539529c633
SHA256 hash of openwrt-mediatek-filogic-cudy_tr3000-v1-squashfs-sysupgrade.bin:
7d19196866f6a7f3ecc21beb2643979ceefe1a37dded3cf5c3ee8e8096e0673b
在 luci 固件升级,
<!>不要勾选 “保留当前配置” !
刷入支持大分区的FIP
mt7981_cudy_tr3000-mod-u-boot.fip
MD5: 785d92451d88b343829a006ba5641abb
SHA1: 216c99bf5b9828da0b34a03c5c2885011b3b009e
SHA256: 22735217d66711faa8512d6abc1bbe40f6bdc3134e91c85ad5c43d548415ce9a
可以通过过度固件的web界面的上传功能上传这个fip文件
或者使用其他方法
上传的文件位于
/tmp/upload/
连接到SSH后执行
cd /tmp/upload/
mtd write mt7981_cudy_tr3000-v1-u-boot.fip FIP
刷入支持大分区的固件
也可以使用其他的支持此u-boot的固件
lv.2 users:
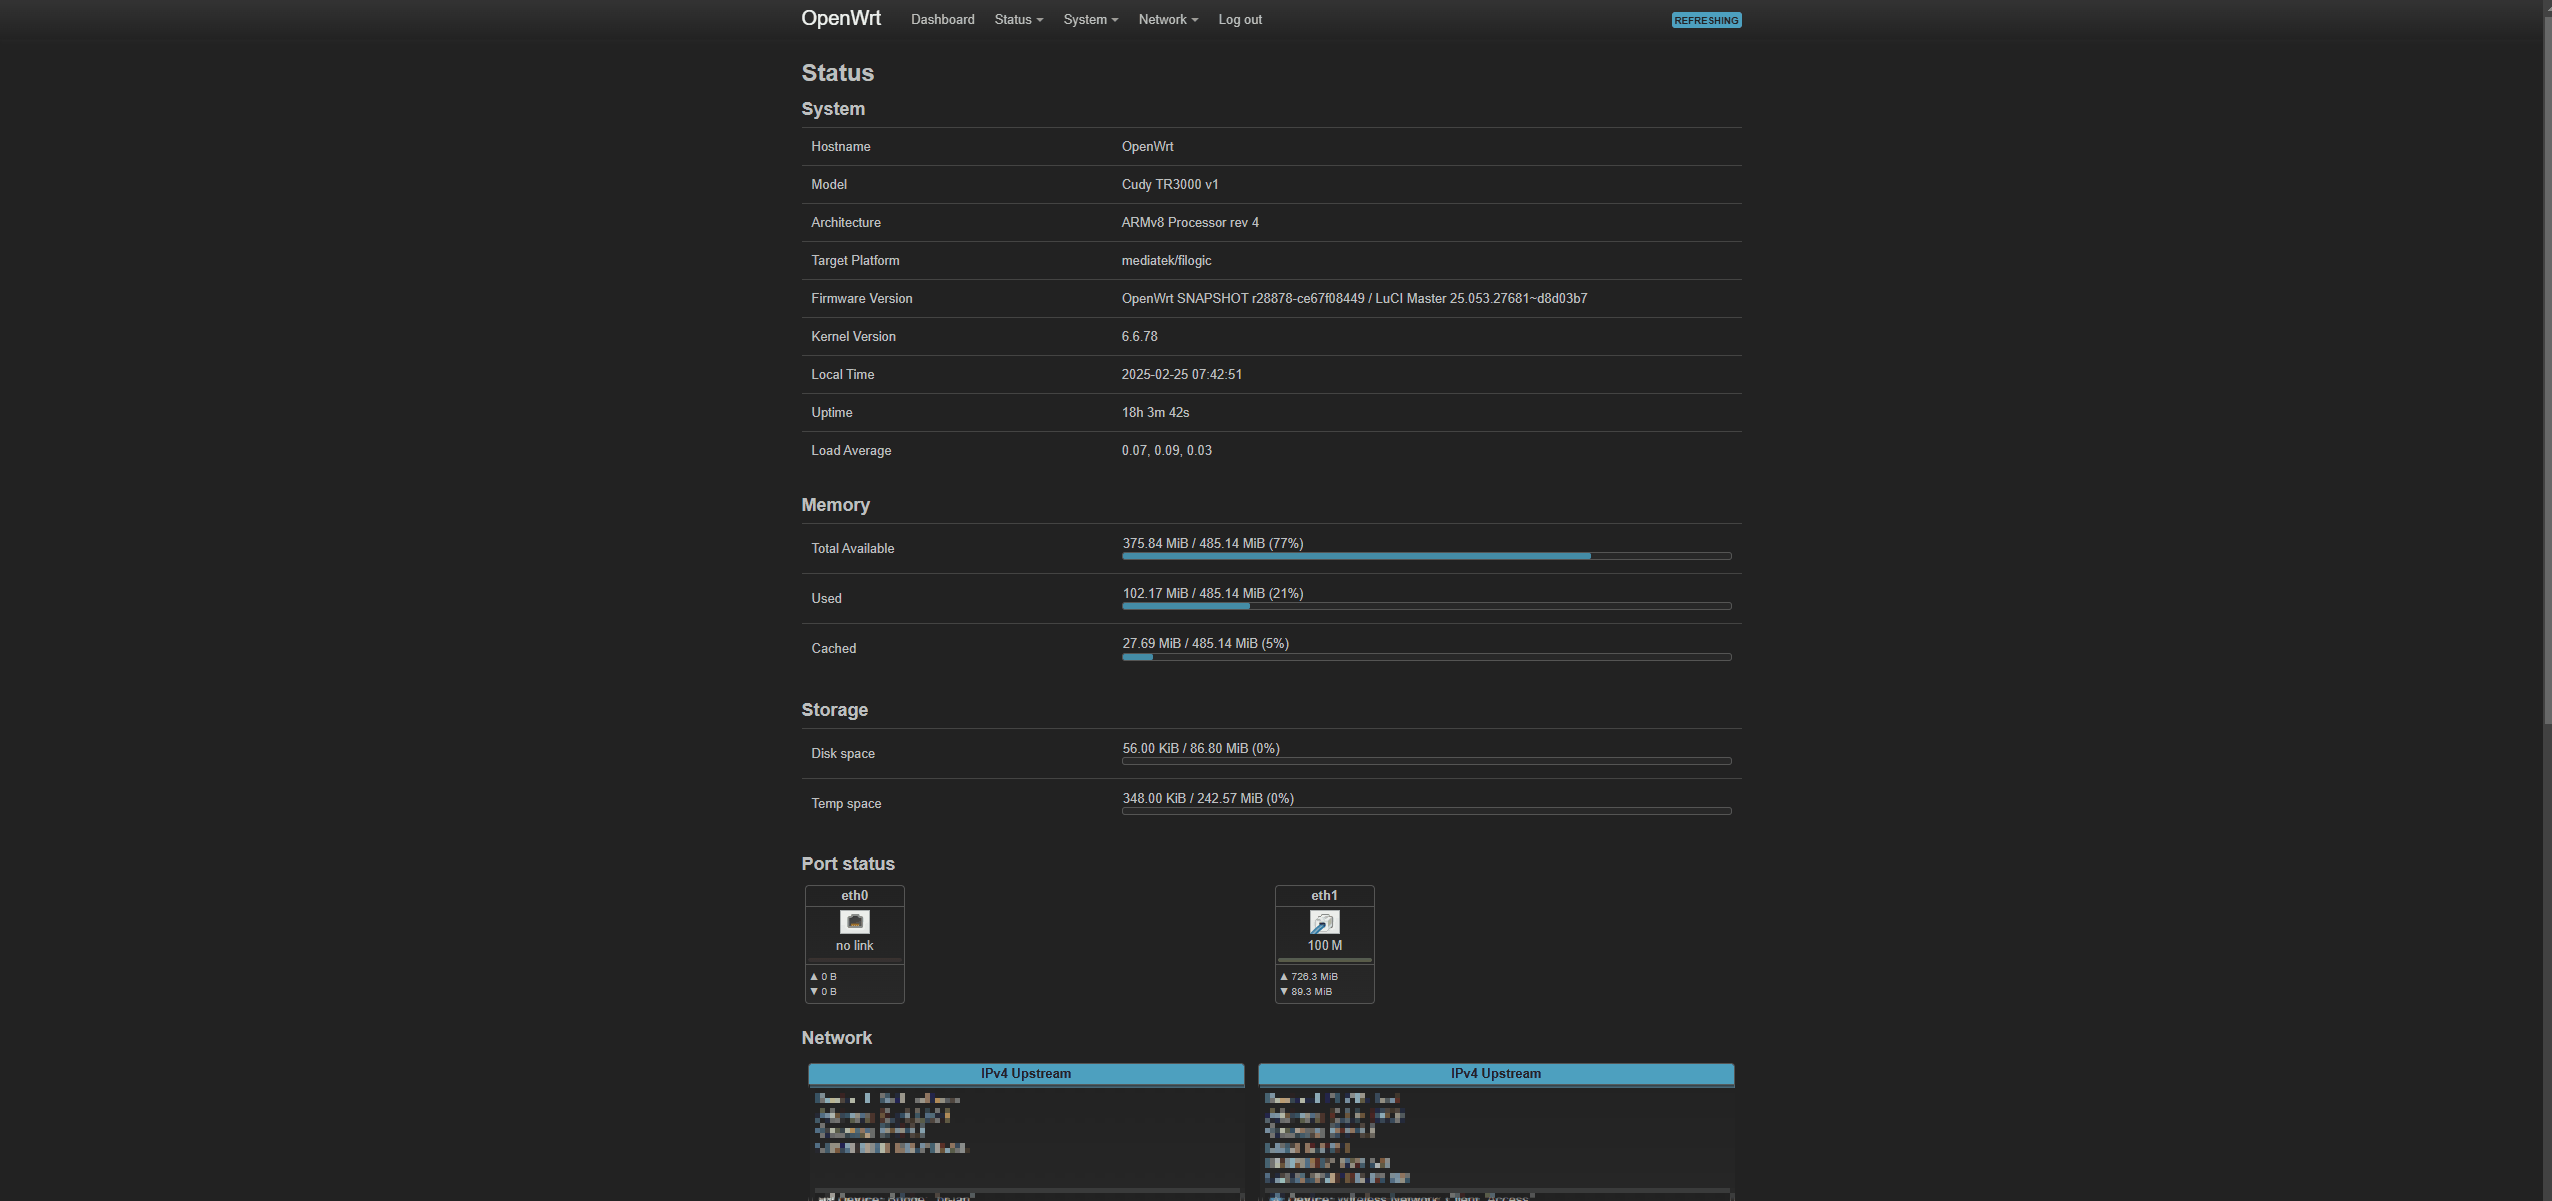
到此为止 你已经有一个比原厂固件更大分区的固件了 可以开心地使用了
但是这个固件的性能,安全及大小取决于构建者
所以REG和某些朋友倾向于继续前进
LV.3:构建自己的openwrt的原版固件:
额外的要求:
硬件:
linux 物理机 或 虚拟机 4C 8G x86 (推荐)
软件:
基于debian的操作系统
网络连接:
需要没有防火墙限制的网络连接(github.com, opewrt.org etc.)
在某些地区的朋友们请考虑:
- 科学上网
- 连接至vpn
有用的链接:
OpenWrt Project: https://github.com/openwrt/openwrt
immortalwrt分支 : 孤影回溯 提供的 immortalwrt 源码
REG的编译环境配置
vmware workstation 17 on windows10 enterprise ltsc
ubuntu server 22.04.5 lts
vmware 虚拟机配置:
4C intel i7
8G RAM
128.4 G vmdk
vmnet 8 (NAT)
构建和编译固件:
安装编译环境
apt update
apt install binutils bzip2 diff find flex gawk gcc-6+ getopt grep install libc-dev libz-dev
make4.1+ perl python3.7+ rsync subversion unzip which
下载源码
git clone https://github.com/openwrt/openwrt
cd openwrt
更新feeds
./scripts/feeds update -a
./scripts/feeds install -a
修改dts配置
- 原版(小分区)
target/linux/mediatek/dts/mt7981b-cudy-tr3000-v1.dts
// SPDX-License-Identifier: (GPL-2.0 OR MIT)
/dts-v1/;
#include <dt-bindings/leds/common.h>
#include "mt7981.dtsi"
/ {
model = "Cudy TR3000 v1";
compatible = "cudy,tr3000-v1", "mediatek,mt7981";
aliases {
label-mac-device = &gmac1;
led-boot = &led_sys_red;
led-failsafe = &led_sys_red;
led-running = &led_sys_white;
led-upgrade = &led_sys_white;
serial0 = &uart0;
};
chosen {
stdout-path = "serial0:115200n8";
};
gpio-keys {
compatible = "gpio-keys";
reset {
label = "reset";
linux,code = <KEY_RESTART>;
gpios = <&pio 1 GPIO_ACTIVE_LOW>;
};
mode {
label = "mode";
linux,code = <BTN_0>;
linux,input-type = <EV_SW>;
gpios = <&pio 0 GPIO_ACTIVE_LOW>;
debounce-interval = <60>;
};
};
leds {
compatible = "gpio-leds";
led_sys_red: led-0 {
function = LED_FUNCTION_POWER;
color = <LED_COLOR_ID_RED>;
gpios = <&pio 11 GPIO_ACTIVE_LOW>;
};
led_sys_white: led-1 {
function = LED_FUNCTION_STATUS;
color = <LED_COLOR_ID_WHITE>;
gpios = <&pio 10 GPIO_ACTIVE_LOW>;
};
};
usb_vbus: regulator-usb {
compatible = "regulator-fixed";
regulator-name = "usb-vbus";
regulator-min-microvolt = <5000000>;
regulator-max-microvolt = <5000000>;
gpios = <&pio 9 GPIO_ACTIVE_LOW>;
regulator-boot-on;
};
};
&uart0 {
status = "okay";
};
&watchdog {
status = "okay";
};
ð {
pinctrl-names = "default";
pinctrl-0 = <&mdio_pins>;
status = "okay";
gmac0: mac@0 {
compatible = "mediatek,eth-mac";
reg = <0>;
phy-mode = "2500base-x";
phy-handle = <&phy1>;
nvmem-cell-names = "mac-address";
nvmem-cells = <&macaddr_bdinfo_de00 1>;
};
gmac1: mac@1 {
compatible = "mediatek,eth-mac";
reg = <1>;
phy-mode = "gmii";
phy-handle = <&int_gbe_phy>;
nvmem-cell-names = "mac-address";
nvmem-cells = <&macaddr_bdinfo_de00 0>;
};
};
&mdio_bus {
phy1: phy@1 {
compatible = "ethernet-phy-ieee802.3-c45";
reg = <1>;
reset-assert-us = <100000>;
reset-deassert-us = <100000>;
reset-gpios = <&pio 39 GPIO_ACTIVE_LOW>;
interrupts = <38 IRQ_TYPE_LEVEL_LOW>;
interrupt-parent = <&pio>;
realtek,aldps-enable;
};
};
&spi0 {
pinctrl-names = "default";
pinctrl-0 = <&spi0_flash_pins>;
status = "okay";
spi_nand: flash@0 {
#address-cells = <1>;
#size-cells = <1>;
compatible = "spi-nand";
reg = <0>;
spi-max-frequency = <52000000>;
spi-cal-enable;
spi-cal-mode = "read-data";
spi-cal-datalen = <7>;
spi-cal-data = /bits/ 8 <0x53 0x50 0x49 0x4E 0x41 0x4E 0x44>;
spi-cal-addrlen = <5>;
spi-cal-addr = /bits/ 32 <0x0 0x0 0x0 0x0 0x0>;
spi-tx-bus-width = <4>;
spi-rx-bus-width = <4>;
mediatek,nmbm;
mediatek,bmt-max-ratio = <1>;
mediatek,bmt-max-reserved-blocks = <64>;
partitions {
compatible = "fixed-partitions";
#address-cells = <1>;
#size-cells = <1>;
partition@0 {
label = "BL2";
reg = <0x00000 0x0100000>;
read-only;
};
partition@100000 {
label = "u-boot-env";
reg = <0x0100000 0x0080000>;
read-only;
};
factory: partition@180000 {
label = "Factory";
reg = <0x180000 0x0200000>;
read-only;
nvmem-layout {
compatible = "fixed-layout";
#address-cells = <1>;
#size-cells = <1>;
eeprom_factory_0: eeprom@0 {
reg = <0x0 0x1000>;
};
};
};
partition@380000 {
label = "bdinfo";
reg = <0x380000 0x0040000>;
read-only;
nvmem-layout {
compatible = "fixed-layout";
#address-cells = <1>;
#size-cells = <1>;
macaddr_bdinfo_de00: macaddr@de00 {
compatible = "mac-base";
reg = <0xde00 0x6>;
#nvmem-cell-cells = <1>;
};
};
};
partition@3c0000 {
label = "FIP";
reg = <0x3c0000 0x0200000>;
read-only;
};
partition@5c0000 {
    label = "ubi";
    reg = <0x5c0000 0x4000000>;
    compatible = "linux,ubi";
};
};
};
};
&pio {
spi0_flash_pins: spi0-pins {
mux {
function = "spi";
groups = "spi0", "spi0_wp_hold";
};
};
};
&usb_phy {
status = "okay";
};
&xhci {
status = "okay";
vbus-supply = <&usb_vbus>;
};
&wifi {
status = "okay";
nvmem-cells = <&eeprom_factory_0>;
nvmem-cell-names = "eeprom";
};
注意第199 行
partition@5c0000 {
label = "ubi";
reg = <0x5c0000 0x4000000>;
compatible = "linux,ubi";
};
label = "ubi": 分区的标签是 “ubi”.reg = <0x5c0000 0x4000000>: 这里的reg定义了分区的位置和大小:0x5c0000是分区的起始偏移地址。0x4000000是该分区的大小(0x4000000 字节,即大约 64 MB)。
compatible = "linux,ubi": 这表示该分区是一个 UBI 文件系统分区,用于闪存设备 NAND 上.
- 大分区的fork
target/linux/mediatek/dts/mt7981b-cudy-tr3000-v1.dts
// SPDX-License-Identifier: (GPL-2.0 OR MIT)
/dts-v1/;
#include <dt-bindings/leds/common.h>
#include "mt7981.dtsi"
/ {
model = "Cudy TR3000 v1";
compatible = "cudy,tr3000-v1", "mediatek,mt7981-spim-snand-rfb";
aliases {
label-mac-device = &gmac1;
led-boot = &led_status;
led-failsafe = &led_status;
led-running = &led_status;
led-upgrade = &led_status;
serial0 = &uart0;
};
chosen {
stdout-path = "serial0:115200n8";
};
gpio-keys {
compatible = "gpio-keys";
reset {
label = "reset";
linux,code = <KEY_RESTART>;
gpios = <&pio 1 GPIO_ACTIVE_LOW>;
};
mode {
label = "mode";
linux,input-type = <EV_SW>;
linux,code = <BTN_0>;
gpios = <&pio 0 GPIO_ACTIVE_LOW>;
debounce-interval = <60>;
};
};
leds {
compatible = "gpio-leds";
led_status: led_0 {
function = LED_FUNCTION_POWER;
color = <LED_COLOR_ID_RED>;
gpios = <&pio 11 GPIO_ACTIVE_LOW>;
};
led_1 {
function = LED_FUNCTION_STATUS;
color = <LED_COLOR_ID_WHITE>;
gpios = <&pio 10 GPIO_ACTIVE_LOW>;
};
};
usb_vbus: regulator-usb {
compatible = "regulator-fixed";
regulator-name = "usb-vbus";
regulator-min-microvolt = <5000000>;
regulator-max-microvolt = <5000000>;
gpios = <&pio 9 GPIO_ACTIVE_LOW>;
regulator-boot-on;
};
};
&uart0 {
status = "okay";
};
&watchdog {
status = "okay";
};
ð {
pinctrl-names = "default";
pinctrl-0 = <&mdio_pins>;
status = "okay";
gmac0: mac@0 {
compatible = "mediatek,eth-mac";
reg = <0>;
phy-mode = "2500base-x";
phy-handle = <&phy1>;
nvmem-cell-names = "mac-address";
nvmem-cells = <&macaddr_bdinfo_de00 1>;
};
gmac1: mac@1 {
compatible = "mediatek,eth-mac";
reg = <1>;
phy-mode = "gmii";
phy-handle = <&int_gbe_phy>;
nvmem-cell-names = "mac-address";
nvmem-cells = <&macaddr_bdinfo_de00 0>;
};
};
&mdio_bus {
phy1: phy@1 {
reg = <1>;
compatible = "ethernet-phy-ieee802.3-c45";
phy-mode = "2500base-x";
reset-gpios = <&pio 39 GPIO_ACTIVE_LOW>;
interrupts = <38 IRQ_TYPE_LEVEL_LOW>;
reset-assert-us = <100000>;
reset-deassert-us = <100000>;
realtek,aldps-enable;
};
};
&spi0 {
pinctrl-names = "default";
pinctrl-0 = <&spi0_flash_pins>;
status = "okay";
spi_nand: flash@0 {
#address-cells = <1>;
#size-cells = <1>;
compatible = "spi-nand";
reg = <0>;
spi-max-frequency = <52000000>;
spi-cal-enable;
spi-cal-mode = "read-data";
spi-cal-datalen = <7>;
spi-cal-data = /bits/ 8 <0x53 0x50 0x49 0x4E 0x41 0x4E 0x44>;
spi-cal-addrlen = <5>;
spi-cal-addr = /bits/ 32 <0x0 0x0 0x0 0x0 0x0>;
spi-tx-bus-width = <4>;
spi-rx-bus-width = <4>;
mediatek,nmbm;
mediatek,bmt-max-ratio = <1>;
mediatek,bmt-max-reserved-blocks = <64>;
partitions {
compatible = "fixed-partitions";
#address-cells = <1>;
#size-cells = <1>;
partition@0 {
label = "BL2";
reg = <0x00000 0x0100000>;
read-only;
};
partition@100000 {
label = "u-boot-env";
reg = <0x0100000 0x0080000>;
read-only;
};
factory: partition@180000 {
label = "Factory";
reg = <0x180000 0x0200000>;
read-only;
nvmem-layout {
compatible = "fixed-layout";
#address-cells = <1>;
#size-cells = <1>;
eeprom_factory_0: eeprom@0 {
reg = <0x0 0x1000>;
};
};
};
partition@380000 {
label = "bdinfo";
reg = <0x380000 0x0040000>;
read-only;
nvmem-layout {
compatible = "fixed-layout";
#address-cells = <1>;
#size-cells = <1>;
macaddr_bdinfo_de00: macaddr@de00 {
compatible = "mac-base";
reg = <0xde00 0x6>;
#nvmem-cell-cells = <1>;
};
};
};
partition@3C0000 {
label = "FIP";
reg = <0x3C0000 0x0200000>;
read-only;
};
partition@5c0000 {
    label = "ubi";
    reg = <0x5C0000 0x7000000>;
    compatible = "linux,ubi";
};
};
};
};
&pio {
spi0_flash_pins: spi0-pins {
mux {
function = "spi";
groups = "spi0", "spi0_wp_hold";
};
};
};
&usb_phy {
status = "okay";
};
&xhci {
status = "okay";
vbus-supply = <&usb_vbus>;
};
&wifi {
status = "okay";
nvmem-cells = <&eeprom_factory_0>;
nvmem-cell-names = "eeprom";
};
注意第202 行
partition@5c0000 {
label = "ubi";
reg = <0x5C0000 0x7000000>;
compatible = "linux,ubi";
};
label = "ubi": 该分区的标签名称为 “ubi”,通常用于 UBI 文件系统的分区。reg = <0x5C0000 0x7000000>: 这里的reg定义了分区的位置和大小:0x5C0000是分区的起始偏移地址。0x7000000是该分区的大小(0x7000000 字节,即大约 112 MB)。
compatible = "linux,ubi": 这表示该分区是一个 UBI 文件系统分区,通常用于闪存设备 NAND上.
左边的是OpenWrt默认的配置 右边的配置支持112Mib 分区的u-boot
你可以用右边的配置文件替换左边同样路径目录下的配置文件,也可以直接修改
target/linux/mediatek/dts/mt7981b-cudy-tr3000-v1.dts
reg = <0x5c0000 0x4000000>; -> reg = <0x5C0000 0x7000000>;
修改make 配置
选择目标设备为
- Target System (MediaTek ARM)
- Subtarget (Filogic 8×0 (MT798x))
- Target Profile (Cudy TR3000 v1)
可以根据需求加减软件包和库等等–相信MAKE的图形界面难不倒你。
如果你想使用最小体积的轻量化固件可以直接保存,然后进行下一步。
编译
make
<!> 注意不要以root身份启动make
然后便是漫长的等待…
可以先…
直到。。。
刷入固件
可以选择在 luci 固件升级刷入。
lv.3 users
congratulations: 你已经完成了tr_3000的扩容及自定义固件的构建和刷写,不出意外的话,比较精简的build应该至少有80Mib多的可用空间 约65Mib的启动内存占用,并且拥有较为完整的功能和原版的使用体验。相信你会被openwrt的魔力吸引。
如何恢复原厂固件:
估计到了这一步应该不会有人想回到原厂固件吧
虽然可能真有
虽然REG也没有试过
这个问题分为两种情况
情况1: 你没有刷第三方u-boot
你没有对fip分区进行操作 也就是说你使用的仍然是小分区的固件
那么比较简单
cudy官方也提供教程
利用在计算机上架设tftp服务器来恢复原厂固件
默认的u-boot会从ip地址为192.162.1.88的tftp服务器下载恢复固件
请确保你的电脑ip地址为192.168.1.88
情况2: 你使用了第三方的u-boot
你刷入了第三方提供的大分区u-boot
那么相对复杂
你需要先恢复到原厂的fip分区(原厂u-boot)
所以这就是为什么之前REG让你备份fip的原因了
如果你没有备份 REG 可以分享他的备份
MD5 hash of OpenWrt.mtd4.FIP.bin:
54b239cd93b4f21acd797206d9362692
<!> 慎用 REG不能保证你刷了这个不会出问题
你当前的u-boot应该支持刷写fip, 如果不支持也可以在luci界面或者命令行中尝试刷入原厂的fip (请确认当前固件已经解锁fip分区)
然后执行上面情况1的方法以恢复原厂固件
本文用到的资源和文件:
刷机用到的固件和资源搬运:
https://github.com/regacc2020/cudy-tr3000-112m-uboot-share
REG的FORK:
https://github.com/regacc2020/openwrt-cudy-tr3000-112m
尾声:
From REG:
如果有你有发现任何错误,不足,或者可提升的地方欢迎在评论区留言。
如果你有更好的想法和意见也欢迎你与我们分享。
特别感谢:
以及广大网友分享的信息


2 responses to “Cudy tr3000 (多酷) 刷机扩容以及构建大分区openwrt固件的详细教程”
问一个问题,我的存储扩容到了512mb是不是修改reg = ; // 起始地址 0x5C0000,大小 0x20000000 (512 MiB)就可以了?
并不是。理论上你可能还需要自己构建u-boot,因为u-boot 也需要知道reg = <0x5C0000 0x7000000>; 等关于分区的参数定义,这个定义要和你的固件匹配, REG 没有尝试过构建u-boot,你可以在有救砖能力的情况下谨慎操作。